
the wedding cape project | summer/fall 2025

in may 2025 i received a direct message on instagram from my dear friend (and fellow local artist) judith rothenstein-putzer, that she and her husband were preparing to put their home on the market.
“going through a lifetime worth of stuff. pulled down my wedding gown which sustained some smoke damage and is not salvageable, but the heavy lace looks pretty good. thought you might be able to repurpose it...as far as the wedding gown is concerned, it’s just too yellow in spots to restore, my daughters have their own dresses and i don’t think my grandchildren will be interested. so rather than bringing it to goodwill, it’s yours for the taking, at least you will give parts a new life - can’t wait to see how you transform everything!”
the parts:
the modest, elegant bohemian, 1970 wedding frock was an a-line, princess-seamed column dress with long fitted sleeves and a lovely high neckline. dramatic venetian lace was generously used on the bodice, cuffs, and hem of the dress. the same lace also encircled the pillbox hat which could be affixed atop the full, layered, elbow-length tulle veil. a faced, detachable chapel train was spherical in its finished shape (similar to a calla lily flower) creating fullness. the inside of the dress and train were fully lined with a crisp taffeta and stiff nylon horsehair braid was used along the inside hemlines to maintain their shape. the train affixed to the wedding dress at the back waist with metal hooks, to be slipped over tiny threaded loops along the dress back waistline, which once attached, were concealed behind the large flat bow. the pillbox hat-style headpiece featured a small hair comb wrapped in lace allowing it to be secured to the hair.
the exterior dress, train and headpiece fabric was silky and shiny-like satin on the back/wrong side, while the front/right side had a matte sheen and slubby woven appearance like shantung silk. my best guess on the fabric composition, after using a swatch of fabric for a burn test, was the fabric was cellulose, comprised of a blend of cotton and rayon. my fabric test swatch ignited quickly and burned, smelling warm, almost sweet like wood, had a grey smoke and an after glow after the flame extinguished. a dark gray, soft feathery ash remained as well as a small amount of a clear amber residue upon my metal burn tray. because of the amber residue, i theorize there may also have been a very small amount of polyester in the cotton/rayon mix. when i got a different swatch of the fabric wet, the soft and silky dry fabric suddenly stiffened and felt like canvas, a common indicator of rayon.
below, my beautiful friend judith in her wedding portraits, november 1970. (and in my humble opinion, the doppelganger of actress sela ward!)


taking stock:
i closely and carefully inspected all the garment pieces while quietly admiring their construction techniques. the dress, veil and train had sustained considerable smoke damage from a fire at some point in the past, but it also appeared to have also yellowed in places due to age. closely inspecting the garment also allowed me to consider the viability of what could be upcycled to create something new. it quickly became apparent that the detachable train was not only the largest piece of viable fabric on hand, it also had the least smoke damage.
i began in earnest by experimenting with the pillbox hat, soaking it in a strong solution of hot water and oxy clean for several hours to see how the fabric and lace responded before moving. happily, the fabric and lace did well with the oxy clean treatment! while not all the smoke damage disappeared from the fabric, it did improve its appearance and the venetian lace had brightened up considerably, too. confidence bolstered, i gave my trusty seam ripper a mighty workout as i set about carefully removing all the lace from the bodice neckline, the sleeve cuffs, as well as the wide lace band encircling the hem of the long dress. i also separated the large flat fabric bow from the detachable train and the train fabric and taffeta lining from each other. lastly, i removed the yards of nylon horsehair braid from along the hemline of the wedding dress and the train.
lace collar:
though the venice lace cleaned up nicely, as the project progressed, i had moments of regret where i wished i had left it its original color...so it goes!

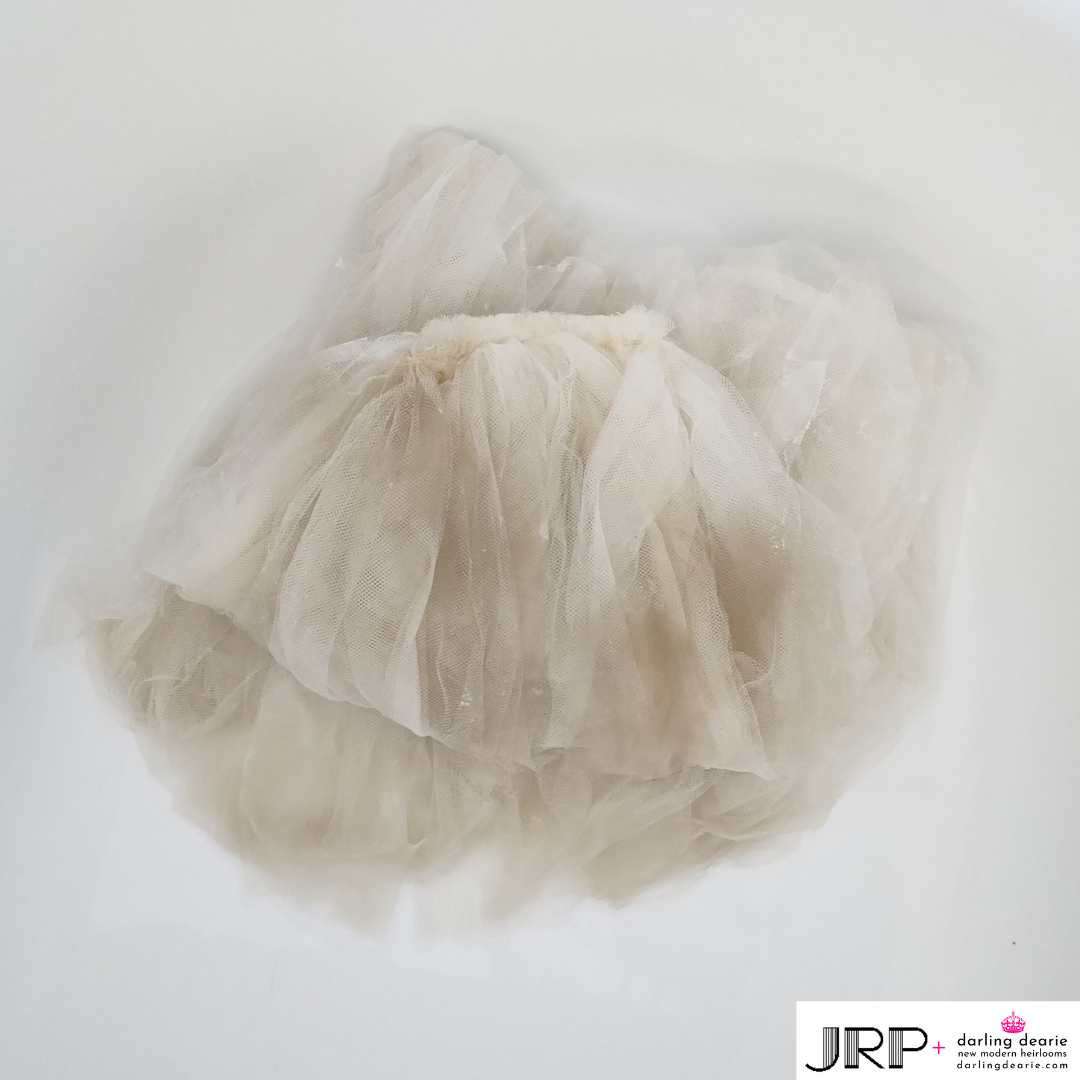
a tulle veil:
the elbow length tulle veil had sustained a lot of smoke damage and age discoloration, which became even more apparent once i put it in my oxy clean solution in the bathtub. while i couldn’t get all the discoloration out, i was able to lighten it considerably enough to include the tulle in my final designs.
finally, inspiration!:
a wedding dress is more than just clothing to me, it is a recognizable piece of family legacy. being an intensely sentimental person, i knew i wanted to create something special that could go back to judith’s family, hopefully be loved and worn by her daughters, granddaughter or future family members. this “something” i was feeling compelled to create would need to not only be universally-sized but also not restricted in its redesign to be viewed as exclusively wedding attire. i wanted items that, yes, could be worn for a wedding by the bride, but could also be worn for holidays, parties, yes, as a bridal guest, or maybe just because it looked great with jeans and a sweater!
i thought and i pondered.
i looked through both physical and digital inspiration photos i’d saved and collected over the years. and then i thought and pondered some more.
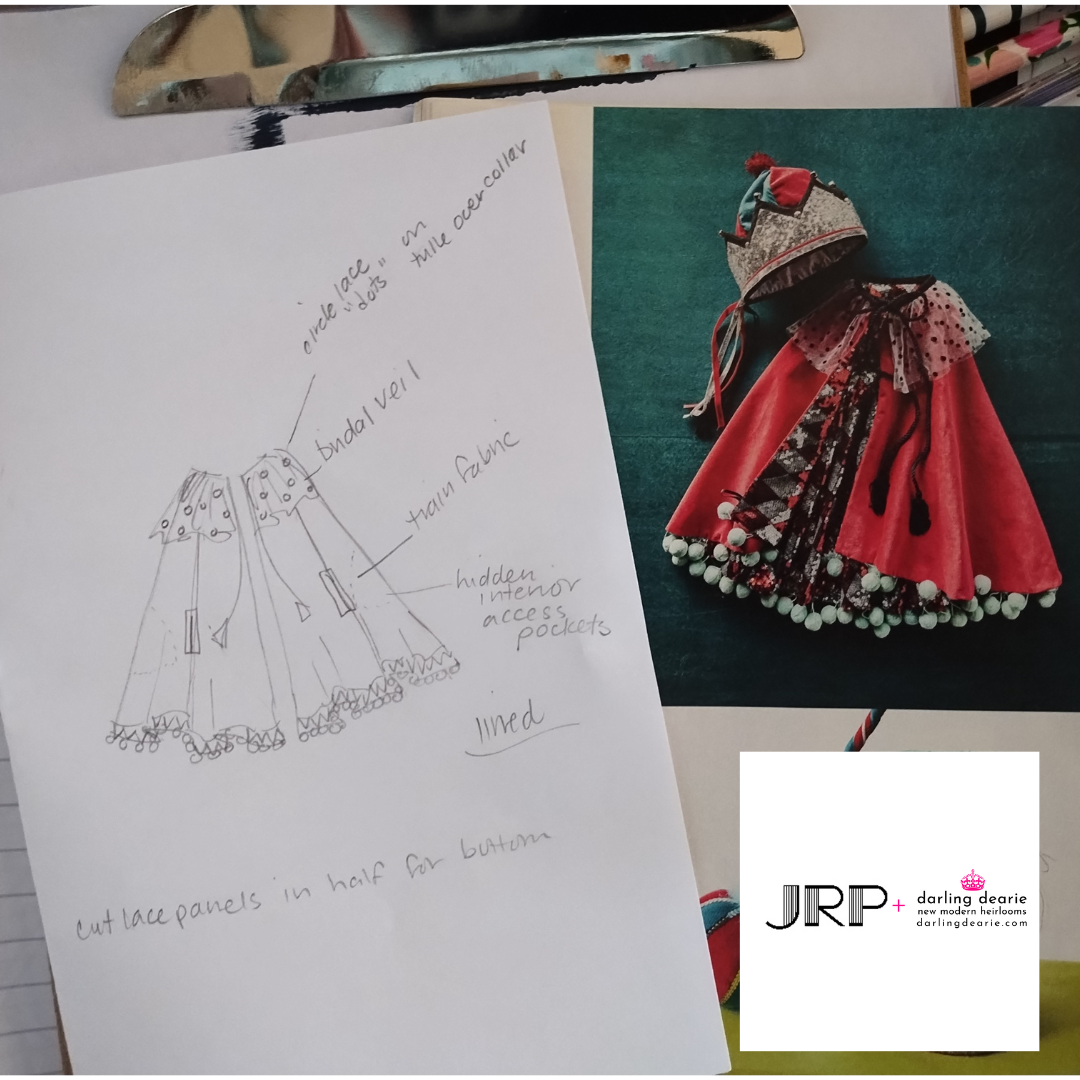
then, one ordinary morning, as i was absentmindedly flipping through an old saved anthropologie christmas catalog, i saw again the whimsical child-sized french circus cape with a chenille-dotted tulle collar with neck tie tassel ends.
eureka, this was IT! i’d found my project inspiration!!
i quickly sketched out an adult-version. maybe with pockets? maybe with lace around the bottom?? i knew i wanted to use the tulle veil for the cape over collar and could use the small lace medallions as the chenille-inspired dots. hmmm, some kind of a fun tassel detail for the cape neck tie closure?
it was then i decided that i wanted to create several items that could be worn together or separately, providing more versatility for my friends family. learning that her collegiate granddaughter fancied the vintage yet modern designs of the free people clothing brand, i set about giving my new creations a similar vibe while easily remaining true to my own “new modern heirlooms” brand aesthetics.
construction begins:
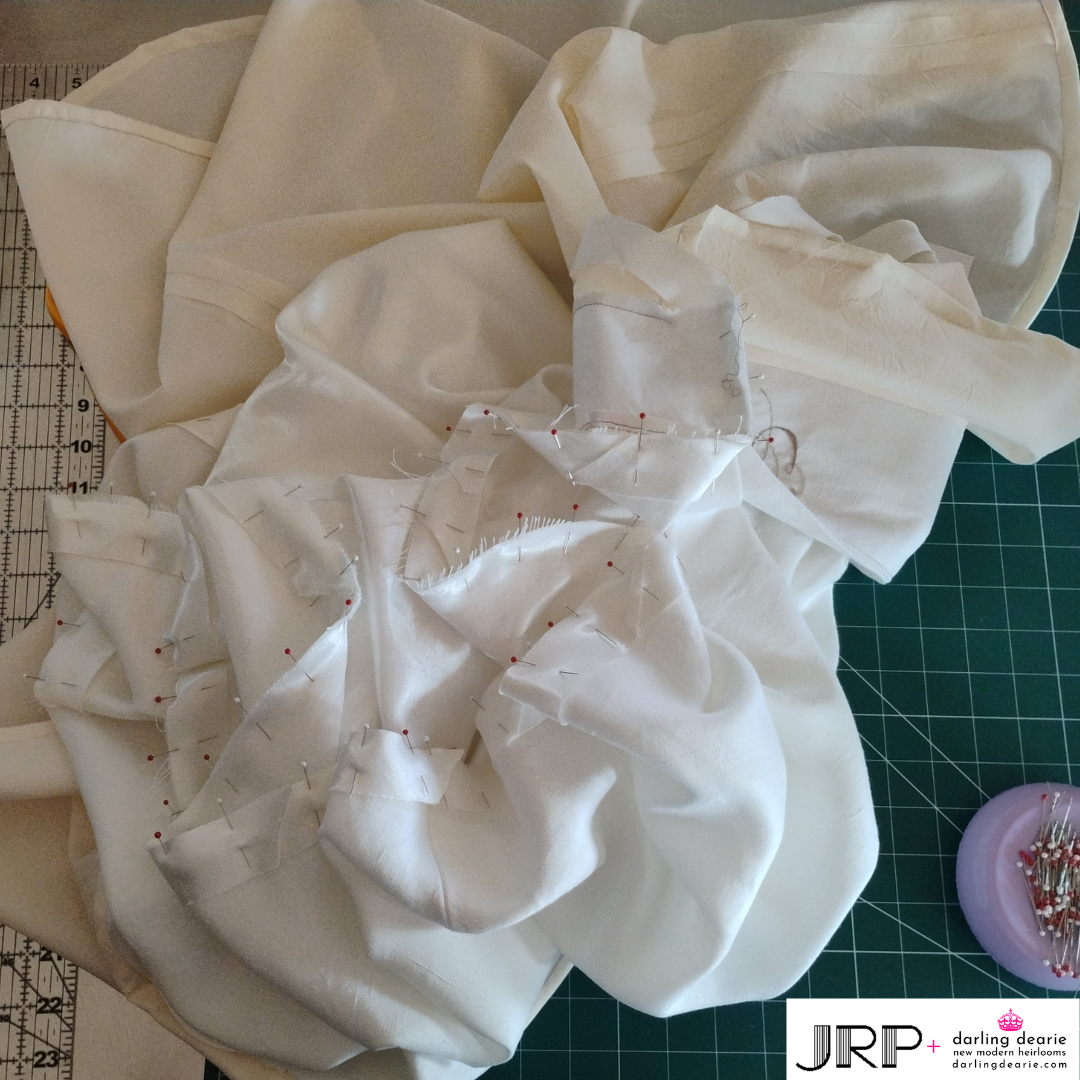
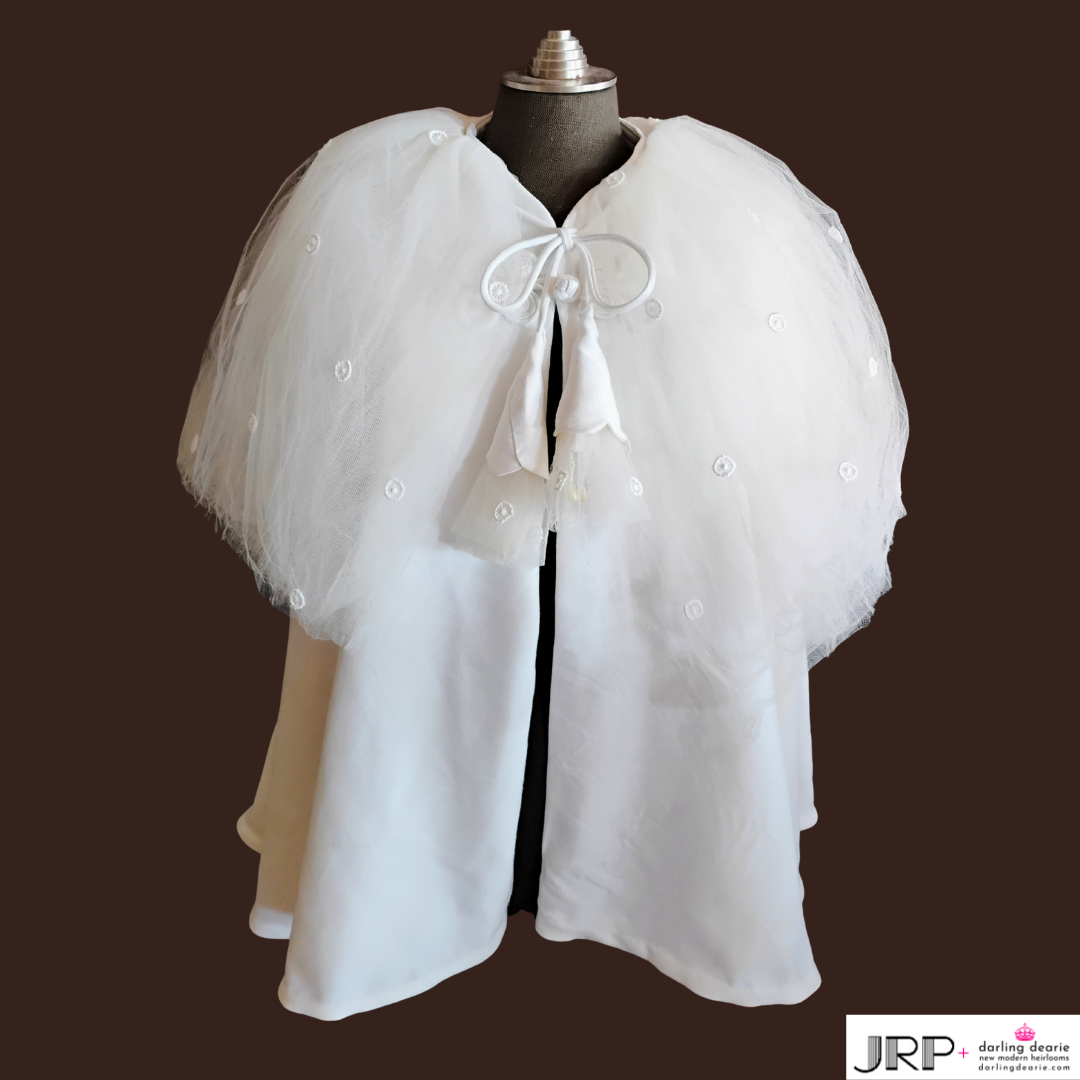
the wedding dress train provided this project with the most undamaged, usable fabric. after it had been soaked, cleaned and ironed, i drafted a pattern for a one-size-fits-most bias cut cape. four panels were cut and sewn together creating the voluminous cape shell.
next, i separated the layers of the cleaned tulle veil, gathered each one up down the center, then stitched them together so when one half of the layers was flipped over the seam line, it gave extra volume and fullness. then i cut lengths and lengths of strips of leftover train fabric on the bias, sewed them together creating yards of bias tape which could also be transformed into cording. i covered both sides of my gathered seams on the tulle over collar with wide bias tape and stitched narrower fabric cording at the ends for the neck ties. at the bottom of each tie, i fashioned a calla lily flower tassel in fabric and wrapped it around folded and gathered tulle strips i’d set aside for this express purpose. in the centers, stitched silk thread chains ending with a vintage iridescent, faceted glass teardrop bead for the flower pistils and stamens. later, as the wedding cape project progressed, small lace medallions would be added to the calla lily flowers and tulle.
attention to details:
(clockwise from left to right) i worked up the wedding portrait judith had sent me into a garment label for the cape and then crafted a simple collab logo design for everything else. all the custom labels were printed on cotton fabric using pigment ink on my inkjet printer. the larger cape label of judith in her wedding dress was entirely brushed with a transparent iridescent blue glitter paint, then sealed with a satin varnish. finally, the outer edge of the label was finished in a frame of dress bias tape sewn using a fancy machine stitch. two small lace medallions were added for decoration and to hide where the bias tape ends connected to one another.
the inside cape front facing features a hand embroidered monogram of judith and her husband’s first name initials and their wedding date. finally, lace circle medallions are carefully placed, pinned and adjusted atop the tulle collar before being handsewn in place with silk thread.
more attention to detail:
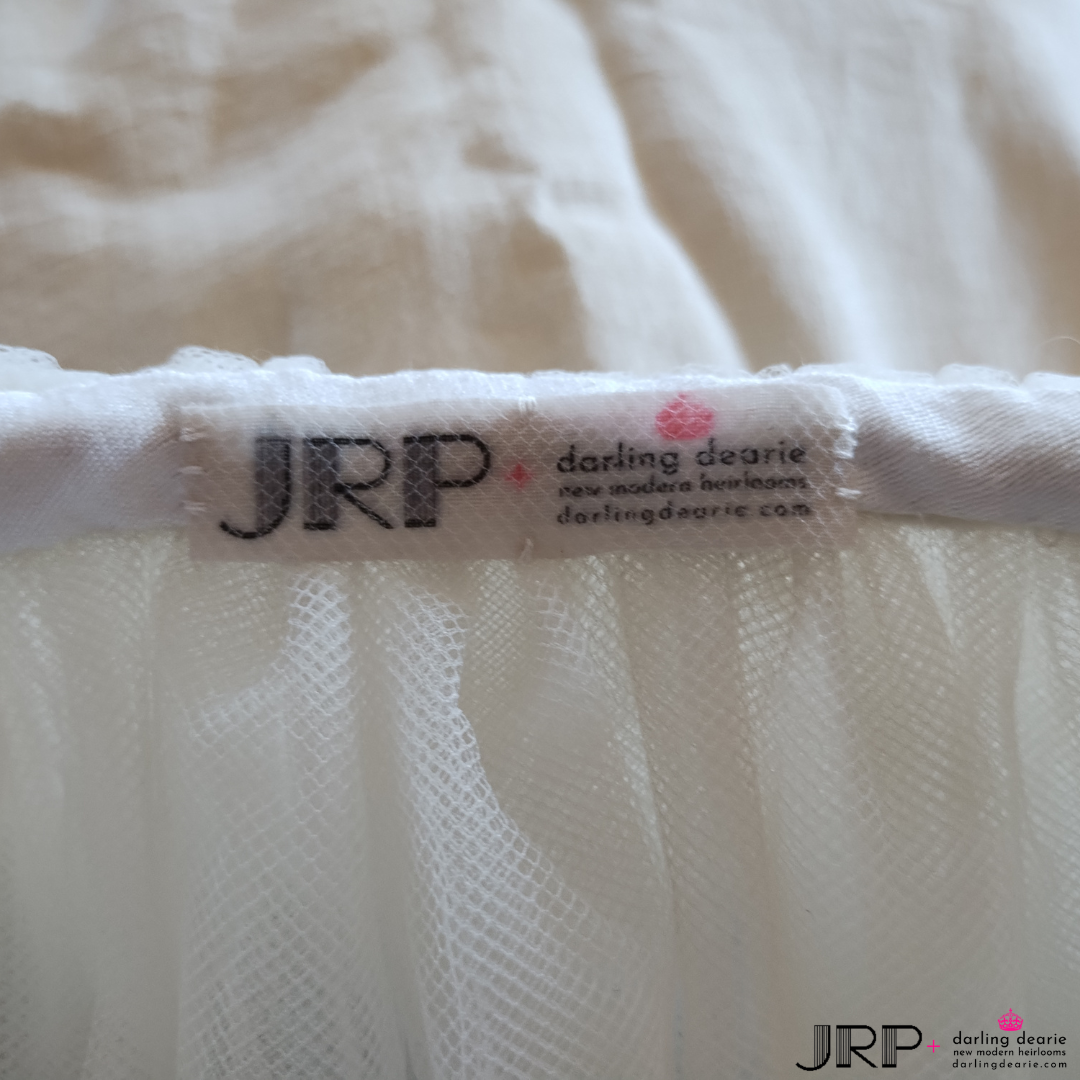
the narrow fabric collab label inside the tulle collar at the neckline was first waxed then wrapped with a small leftover piece of veil tulle.
cape lining and hemming:
i was able to cut a full lining for the cape from the wedding train lining fabric. yay! i’d nixed the idea of pockets for the cape, even though i love them, worried that both the bias cut and age of the fabric would not support such a detail. once i’d sewn the lining to the cape facing, i let it hang on myrna, my vintage dress form, for several weeks. allowing garments cut on the bias to hang before hemming is key, but also, because i didn’t know how i wanted to hem the cape.
at one point, i stitched up the outer cape hem to the lining hem, but because of the bias cut of the exterior cape fabric, the end result was awful! the cape and lining seams refused to align correctly for me and the end result was bulky and hung awkwardly. so i gave my trusty seam ripper another workout and hemmed the bottom of the lining separately from the cape, finishing it simply and cleanly using more fabric bias tape.
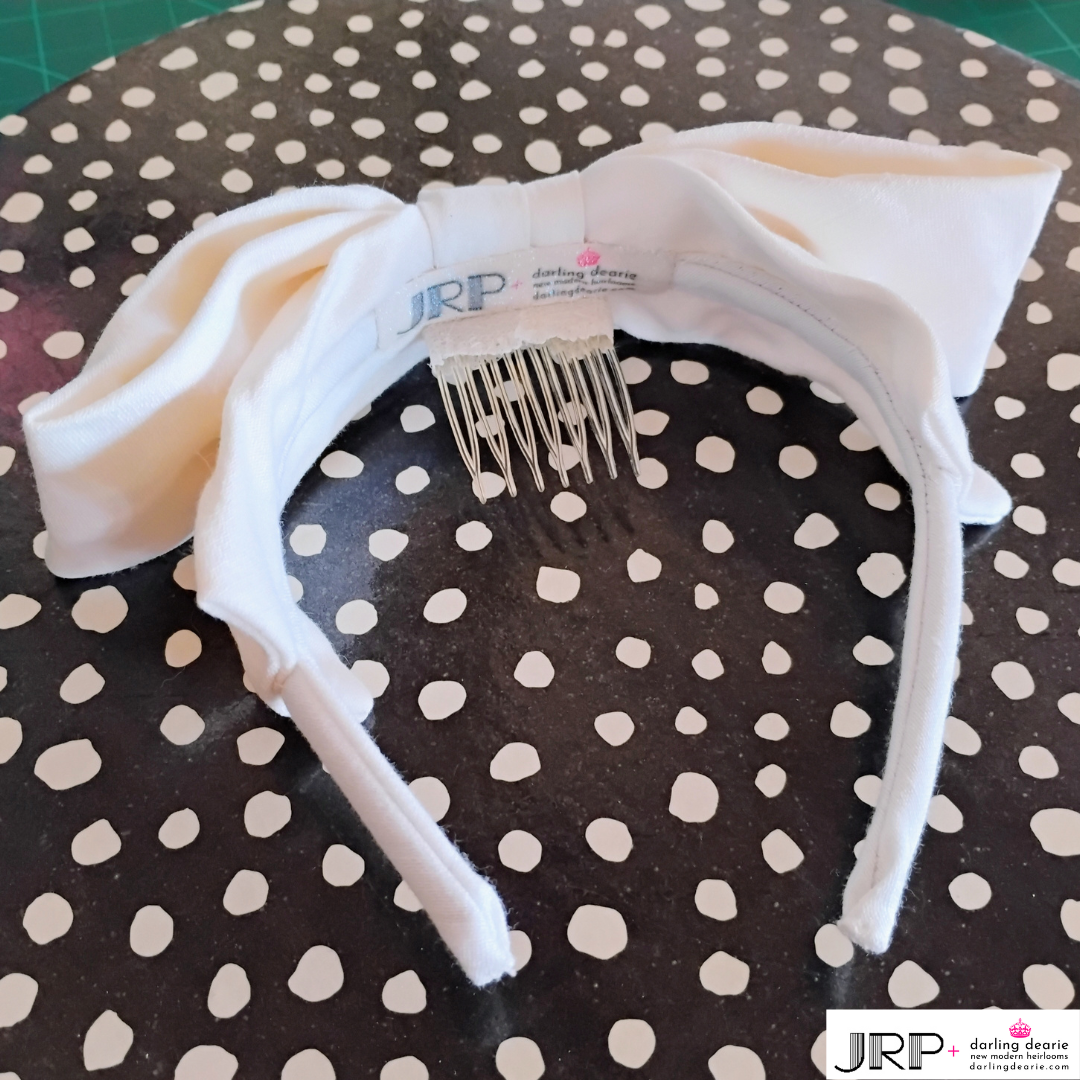
flat bow headband:
one of the first accessory items i created, before i really went to work on the cape itself, was crafting a headband from the timeless flat bow of the wedding dress train. the bow was first soaked in oxy clean, washed, dried and then shaped and stitched onto a headband covered completely in dress fabric. the plastic hair comb from the pillbox hat was reused as was the original lace that had been wrapped around the comb.
finished flat bow headband:
a collab label was stitched inside the headband and leftover lace dots from the over cape were affixed to the knot of the flat bow. i like that the headband can be worn not only as a possible future wedding headpiece (with or without a veil) but also as hair jewelry for a party, special event, holiday, or to just dress up a casual outfit.
lace cuffs:
the oxy cleaned lace from the wedding dress bodice was fashioned into a pair of lace cuffs. using a strip of wedding dress bias tape to create a channel for the wrist elastics, new metal snaps were added to easily put on/take off the cuffs, while also making sure they were secure on the wrist while being worn. the silver metal snaps were later camouflaged by covering them with an individual wing-shape of venetian lace. each cuff has a collab label hand stitched inside at the wrist line.
lace choker necklace & drop earrings:
a long piece of venetian lace, originally used along the hemline of the wedding dress, was now going to be fashioned into a choker necklace after having an oxy clean bath. i used the nylon horsehair braid removed from the wedding dress train to stabilize and support the ends of the choker but also as a foundation along the upper and lower rows of the small circular lace medallions. the inside center row of the lace also ended up being reinforced with horsehair braid as well, and jewelry findings were added on each end to allow for a customized fit. a single, small circle lace dot medallion hangs in whimsical decoration off the back chain and a collab label sits just inside the choker edge. next, elongated wing-shaped lace and circle medallions were fashioned into dangly drop earrings. the earring lace has been painted using the same transparent blue iridescent glitter paint as the large interior cape label. viewed straight on, the earrings appear white, but the sparkly blue glitter makes itself known as the earrings move from wear or if viewed from the side or angle.
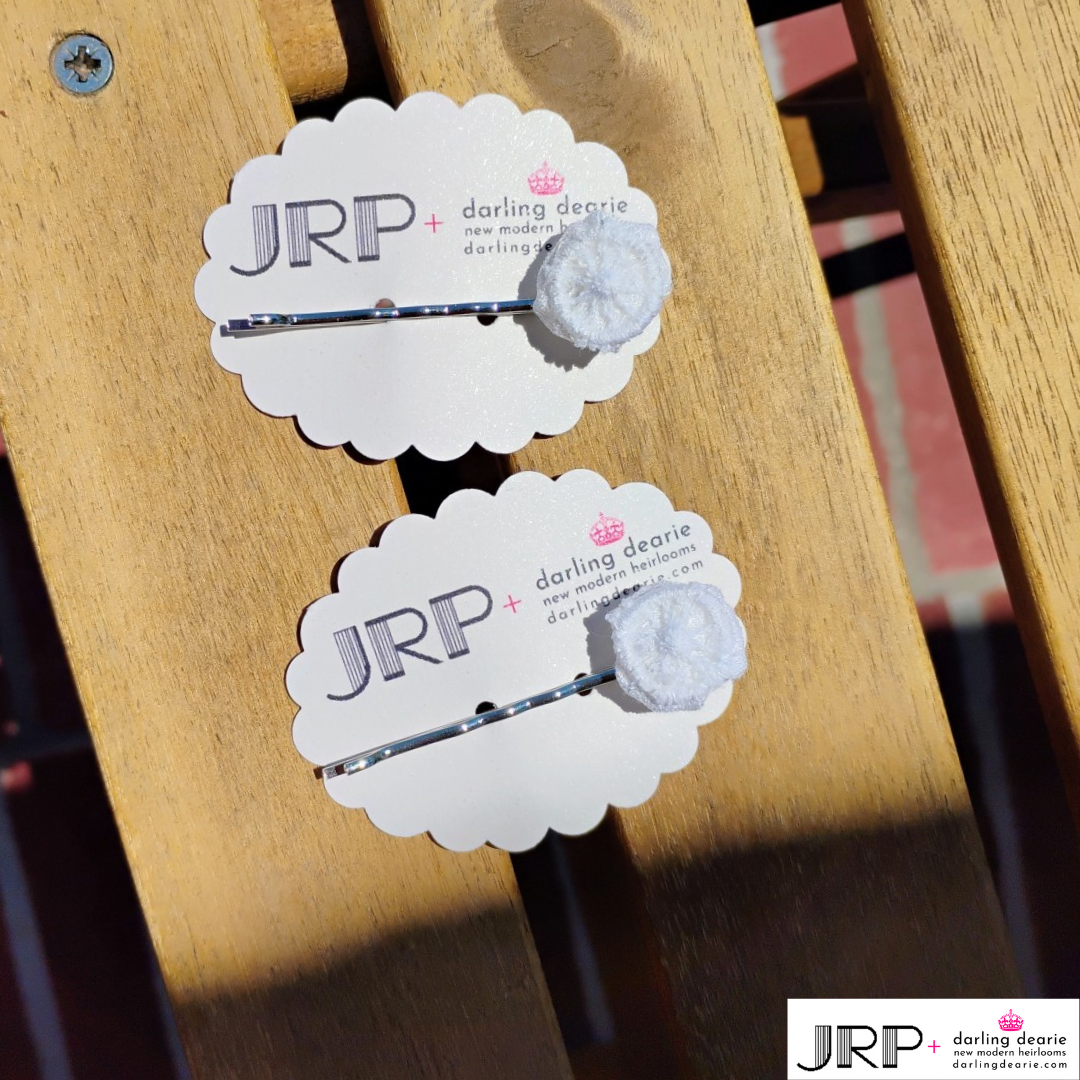
lace puff hairpins:
wedding dress fabric was hand sewn into small fabric yo-yos, then a single lace medallion stitched upon each. the lace topped yo-yo’s were then secured to silver-colored hairpins. yet another decorative hair adornment that may be worn for a wedding, special event or just because!
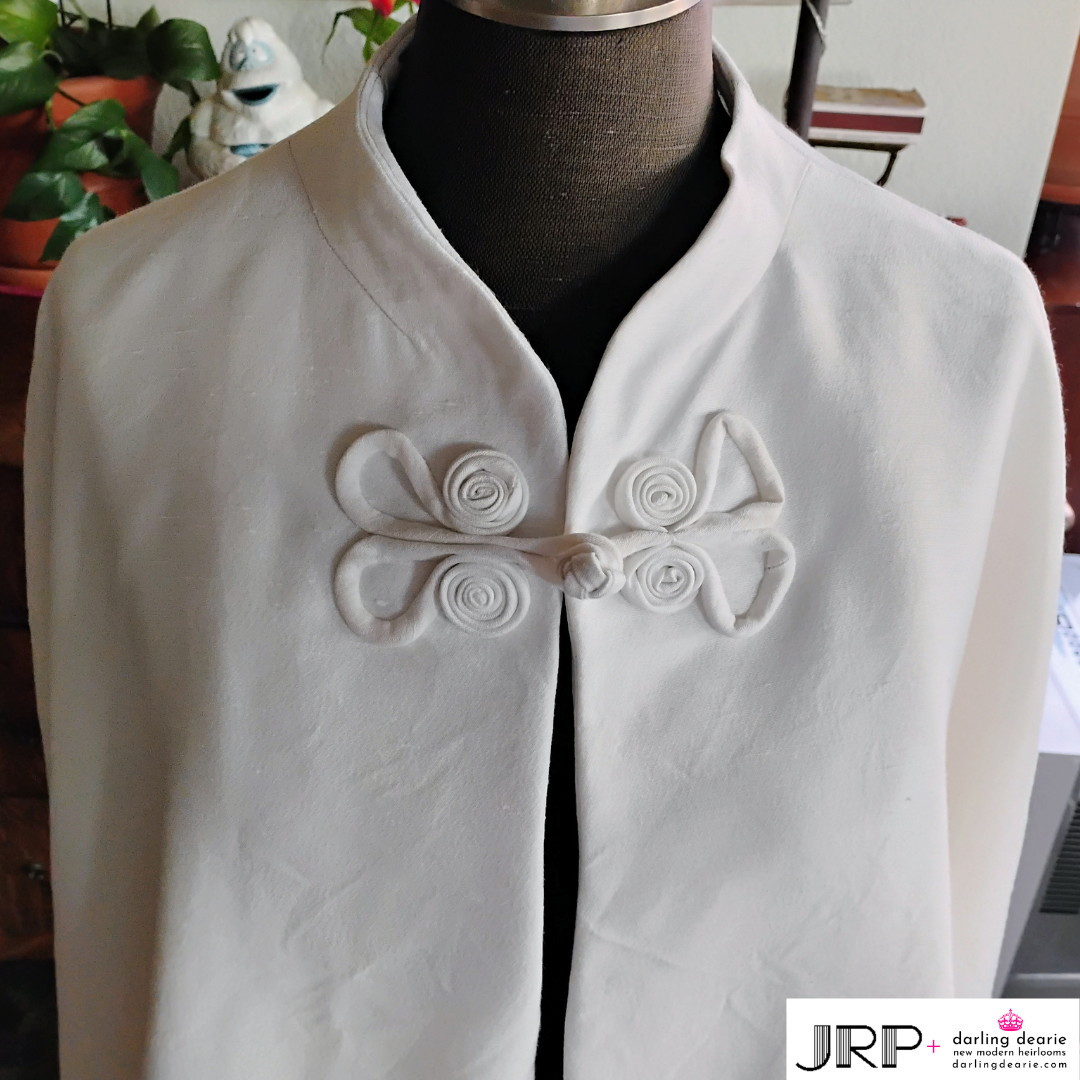
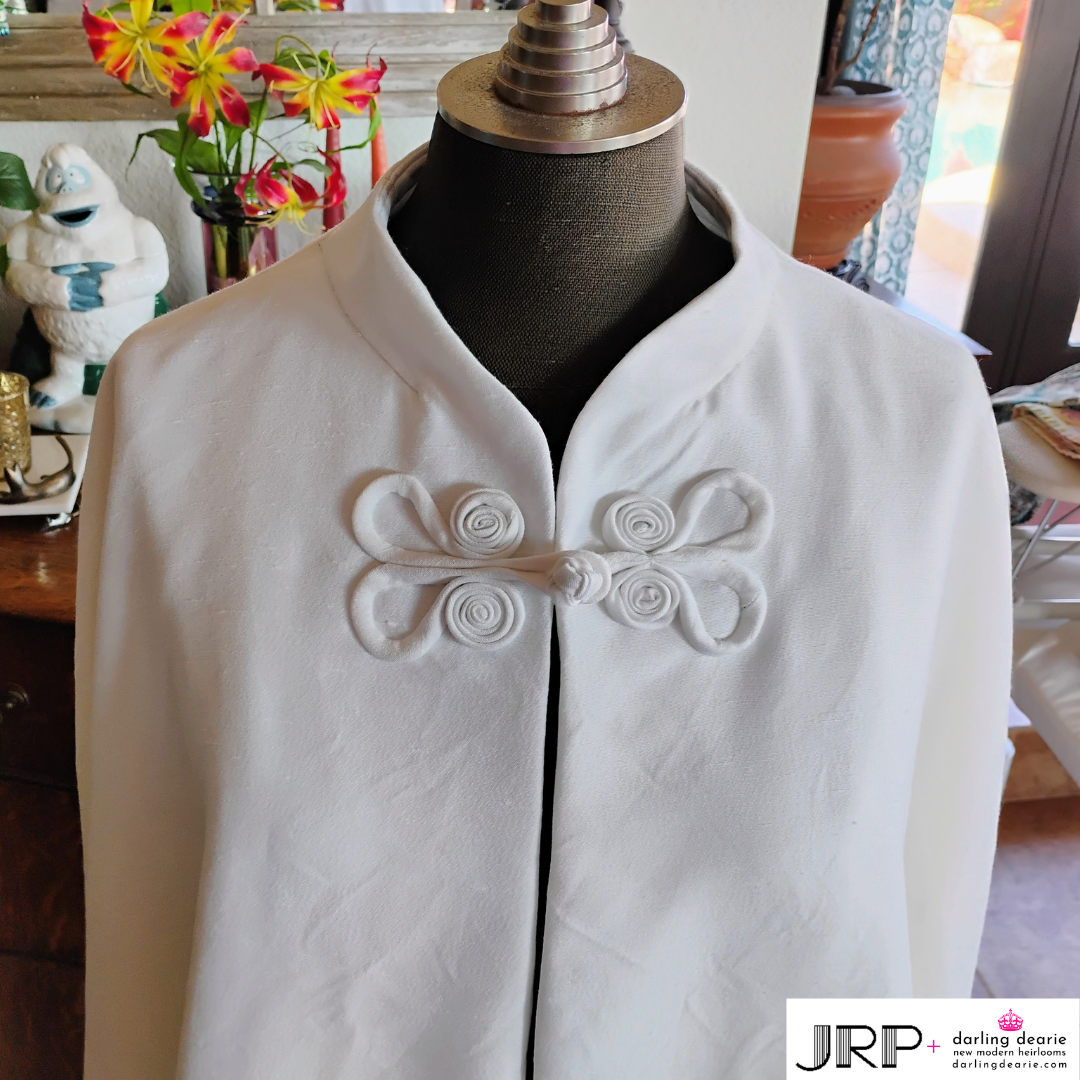
chinese frog closure:
i had decided against adding lace along the outer bottom edge of the cape as originally sketched out. yet throughout the cape construction process, i knew i wanted some kind of a simple, timeless, decorative elegant closure for the throat of the cape. a classic chinese frog closure was the answer! i had set aside the remaining available length of tube cord after making the ties for the cape overlay while i pondered what i wanted to do with it. and then, i successfully procrastinated and ignored it all for several weeks.
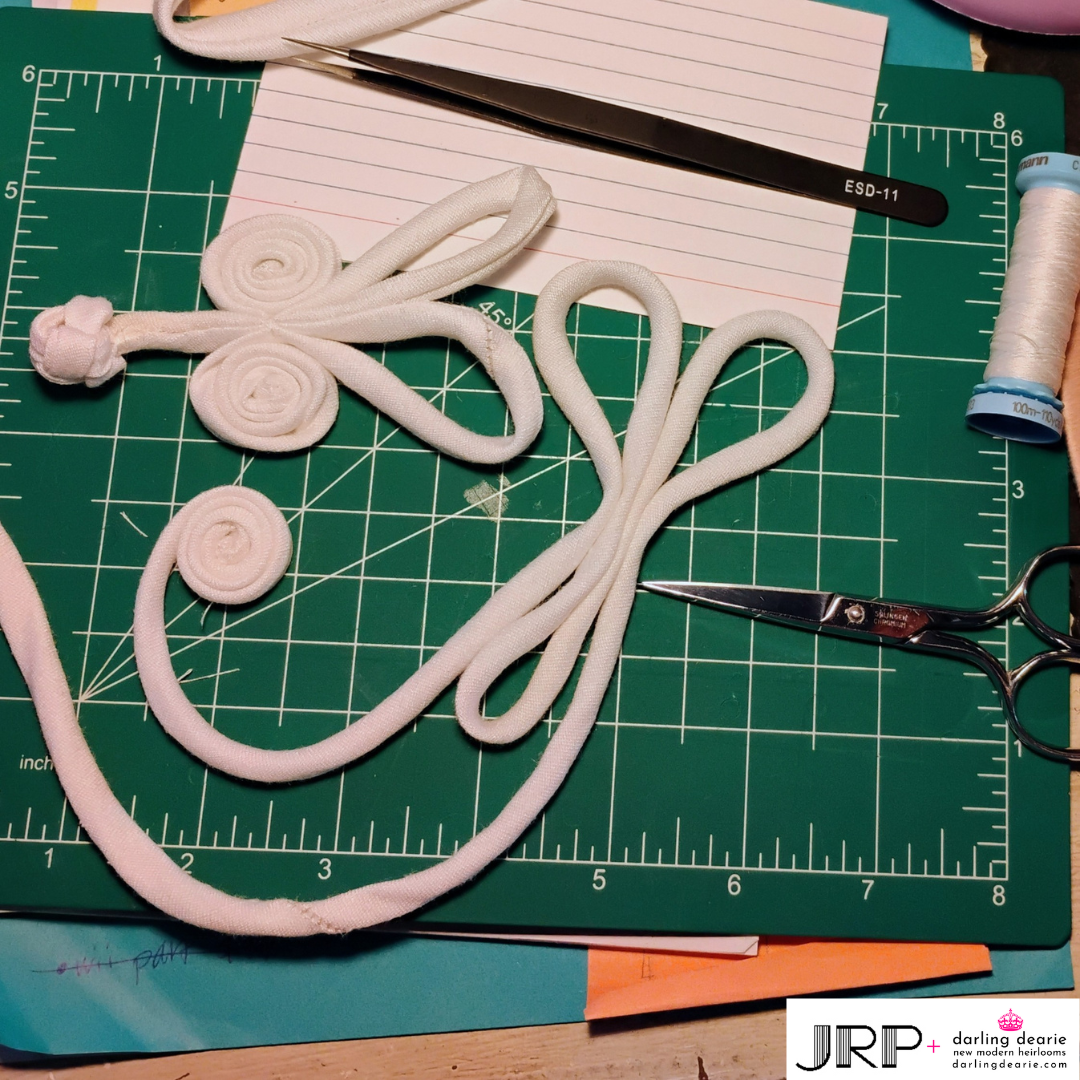
making the frog closure:
finally, weeks and distractions later, i settled in to get.things.done. i began fashioning a curled design using my long, fine tipped tweezers and after several attempts, actually made my own knot! next, i placed and pinned the closures onto the cape so i could slipstitch it into place with silk thread. only when i’d finished did i realize to my dismay that i’d stitched down the closure loops on one side of the cape in a more dramatic fashion which definitely did not match its mate. Gah!
re-shaping the frog closure:
i wisely let two more days of procrastination slide by before i hunkered down again, seam ripper in hand, pulling out the threads along the inside and outsides of the loops. then i repositioned them into a softer, rounder shape, to match its mate. et voila!
i thought the wedding cape was completed once i finished the frog closure, but i really didn’t like how much of a gap there was between the lining hem and the cape hem. while the end result satisfied the requirement, i didn’t like its aesthetic.
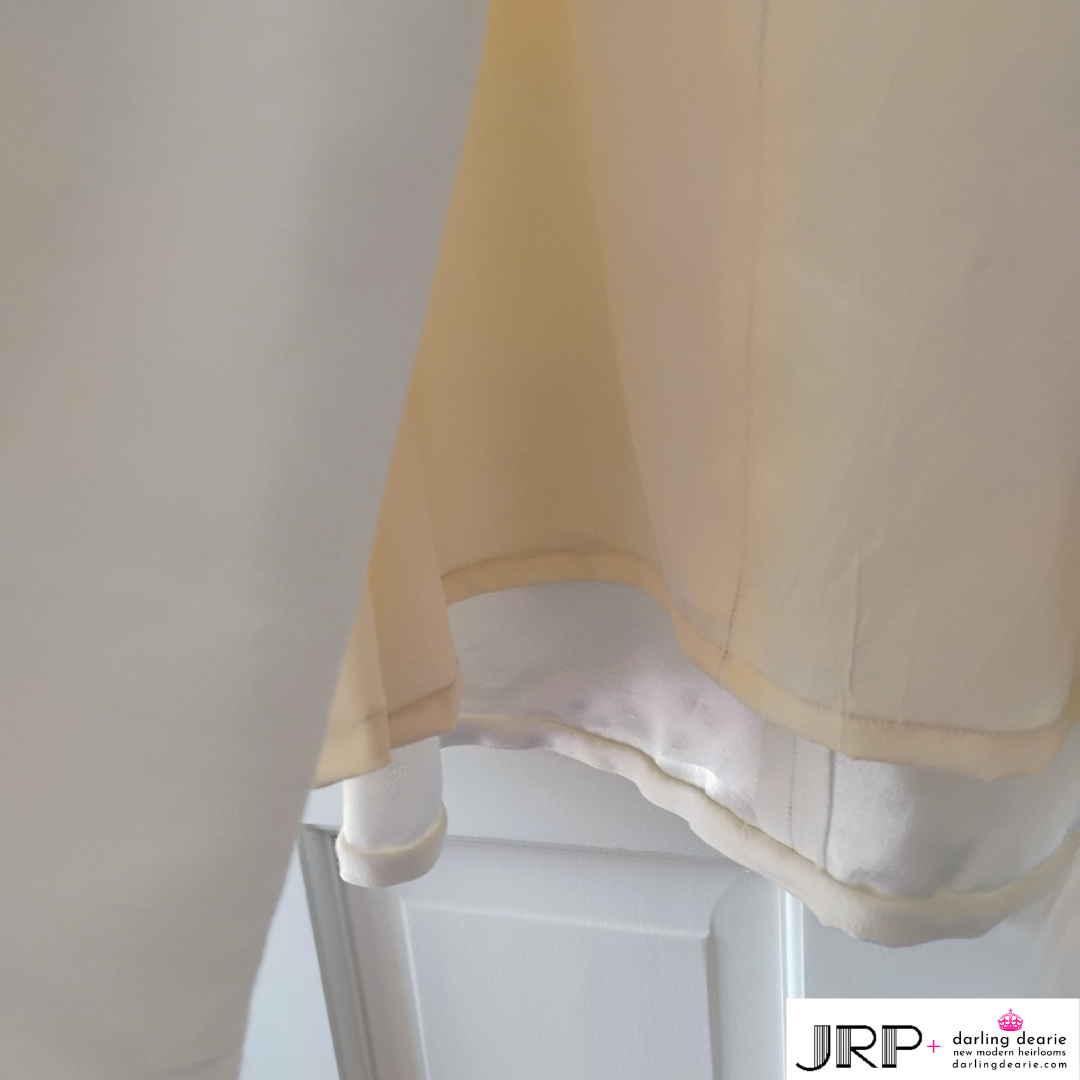
fortunately, there was enough lining material leftover from the train that i was able to cut several lengths of fabric 5.25” high. the lengths were joined, folded once, loosely gathered, turned so it was right-side out, pleated some more and pressed in place.
what i ended up with was about a 140” length of a 2” folded ruffle. the pressed fabric created pleats and folds, mimicking the look of a vintage garment and exactly what i’d hoped for.

the folded ruffle was sewn to the lining hem, filling the gap and creating fullness in the most lovely and romantic way possible. i couldn’t be happier!
i’m also thrilled i was able to reuse, repurpose and recycle most of the original garment and components in thoughtful ways. understandably, i had to provide the sewing and embroidery thread, the vintage beads used for the over cape flower tassels, the garment and accessories label fabric and the jewelry and hair accessory findings necessary to complete the different projects.
finally, i decoupaged a sturdy tab-locking cardboard box using floral and solid tissue paper for storage to not only protect the contents, but to have a small footprint whether on a closet shelf, under a bed, or on a bookcase. my criteria was it had to look good doing important work but not be selfish with space while doing it!

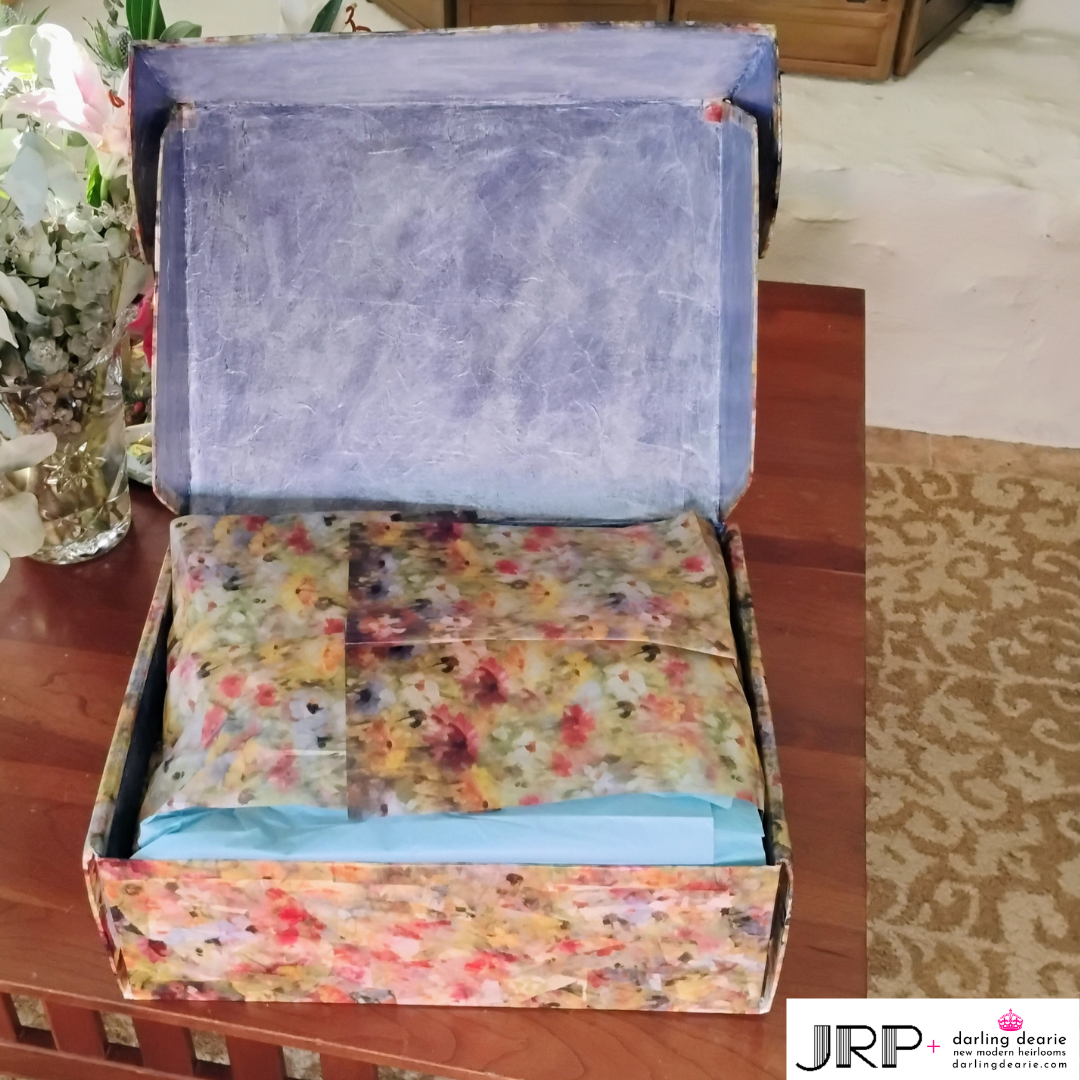
lastly, i wrote a personal, heartfelt letter to the family which was included within a small magazine documenting the process of how these items came to be.

the wedding cape project | 2025
DARK LIBRARY
the wedding cape project
model: josephine dearie


NIGHT CIRCUS
the wedding cape project
model: josephine dearie


